How to Fix a Leaky Tap
A leaking tap can waste a surprising amount of water and increase your water bill. Fixing a leaky tap is usually straightforward and can save you money and hassle. Here’s a simple step-by-step guide to help you stop that drip:
Tools and Materials You’ll Need:
- Adjustable wrench
- Screwdriver (flathead and Phillips)
- Replacement washers or O-rings (specific to your tap type)
- Plumber’s grease
- Cloth or rag
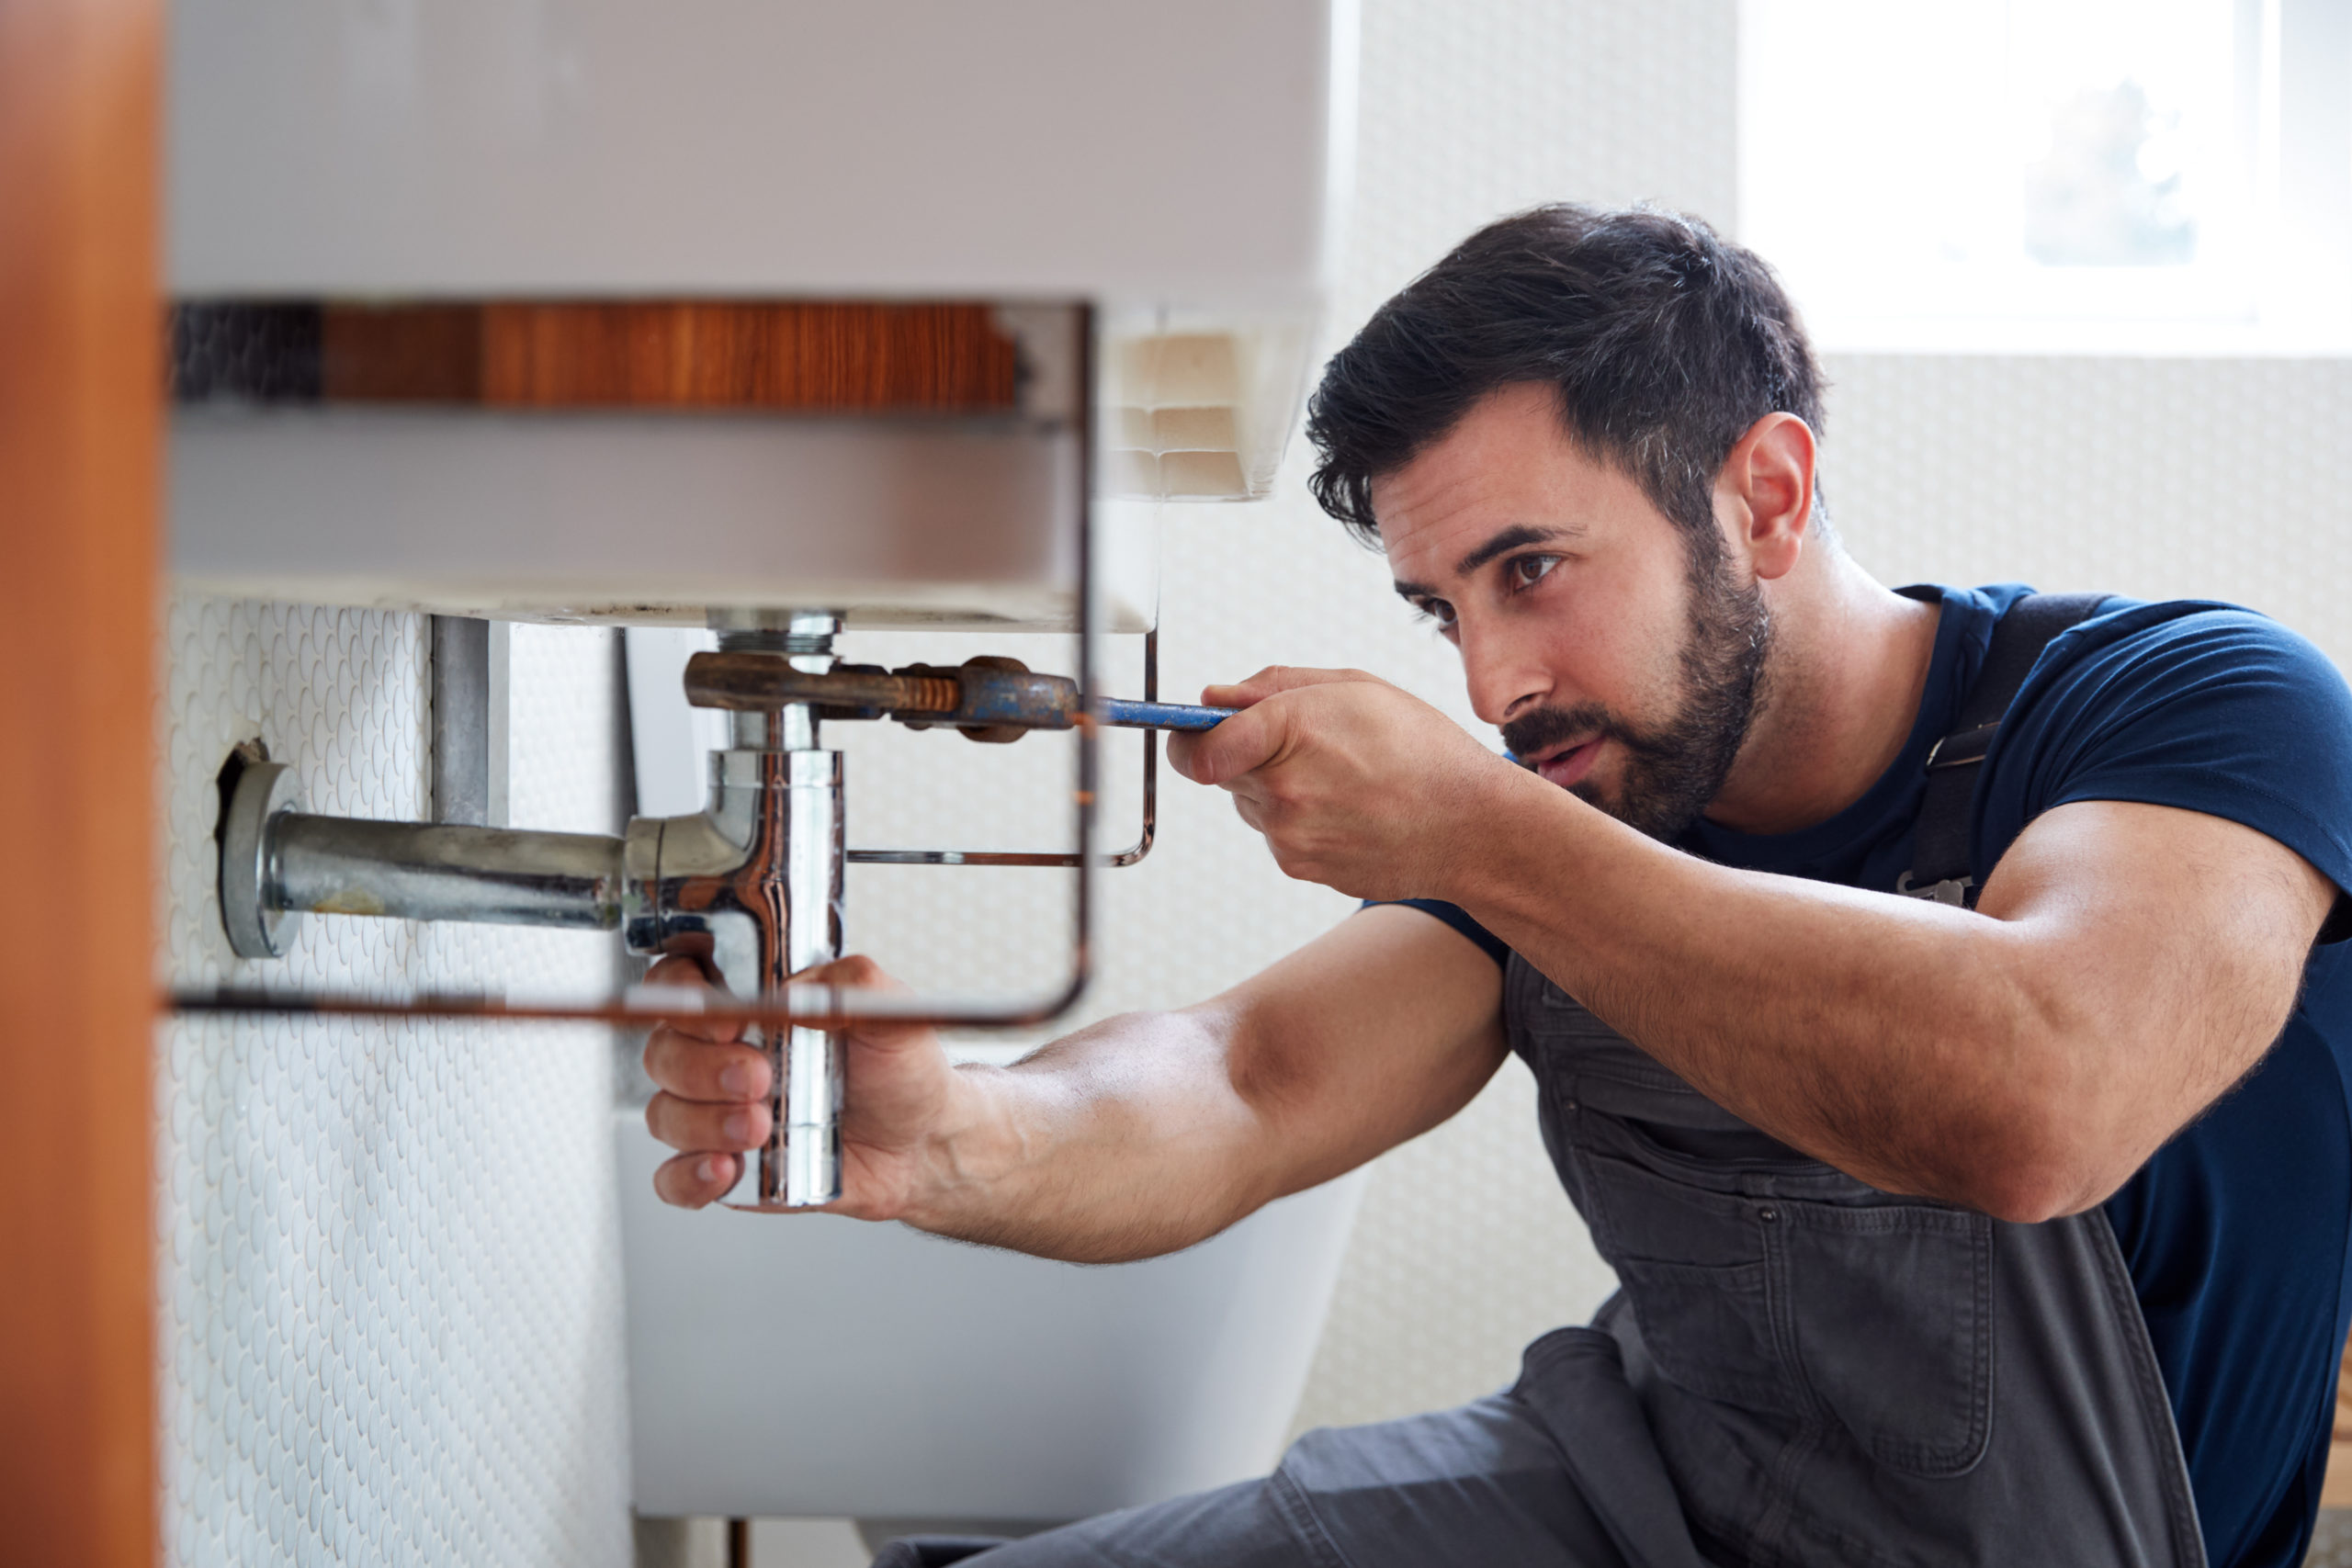
Step 1: Turn Off the Water Supply
Before you start, turn off the water supply to the tap. This is usually done via the shut-off valves under the sink or the main water valve. Open the tap afterward to drain any remaining water.

Step 2: Remove the Tap Handle
Use a screwdriver to remove the screw securing the tap handle, then gently pull the handle off. Keep the screw in a safe place.
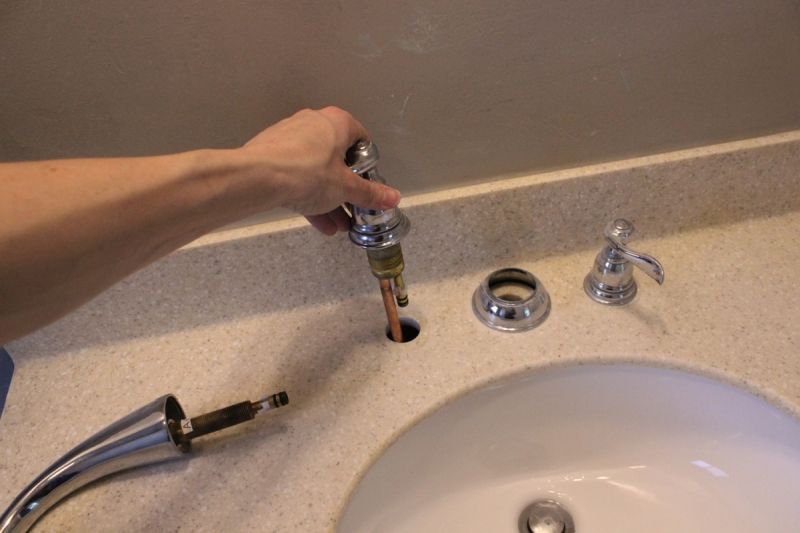
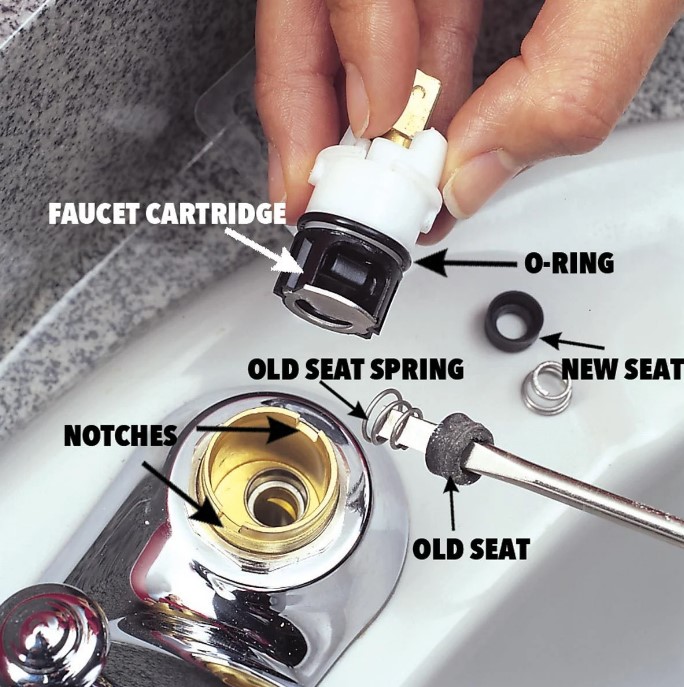
Step 3: Inspect and Remove the Valve or Cartridge
Depending on your tap type (compression, cartridge, ceramic disc), remove the valve or cartridge with an adjustable wrench. Inspect washers and O-rings for damage or wear.
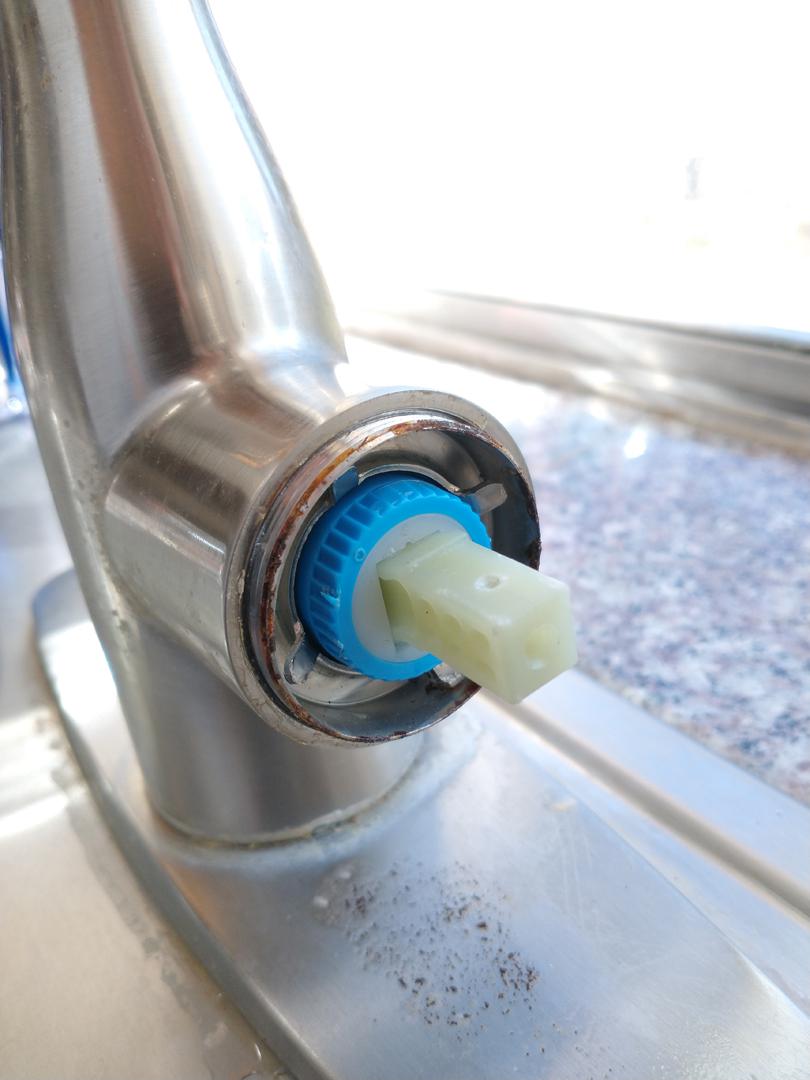
Step 4: Replace Worn Washers or O-Rings
Replace any worn or damaged washers and O-rings with new ones. Apply plumber’s grease lightly to seals for a smooth fit and better longevity.
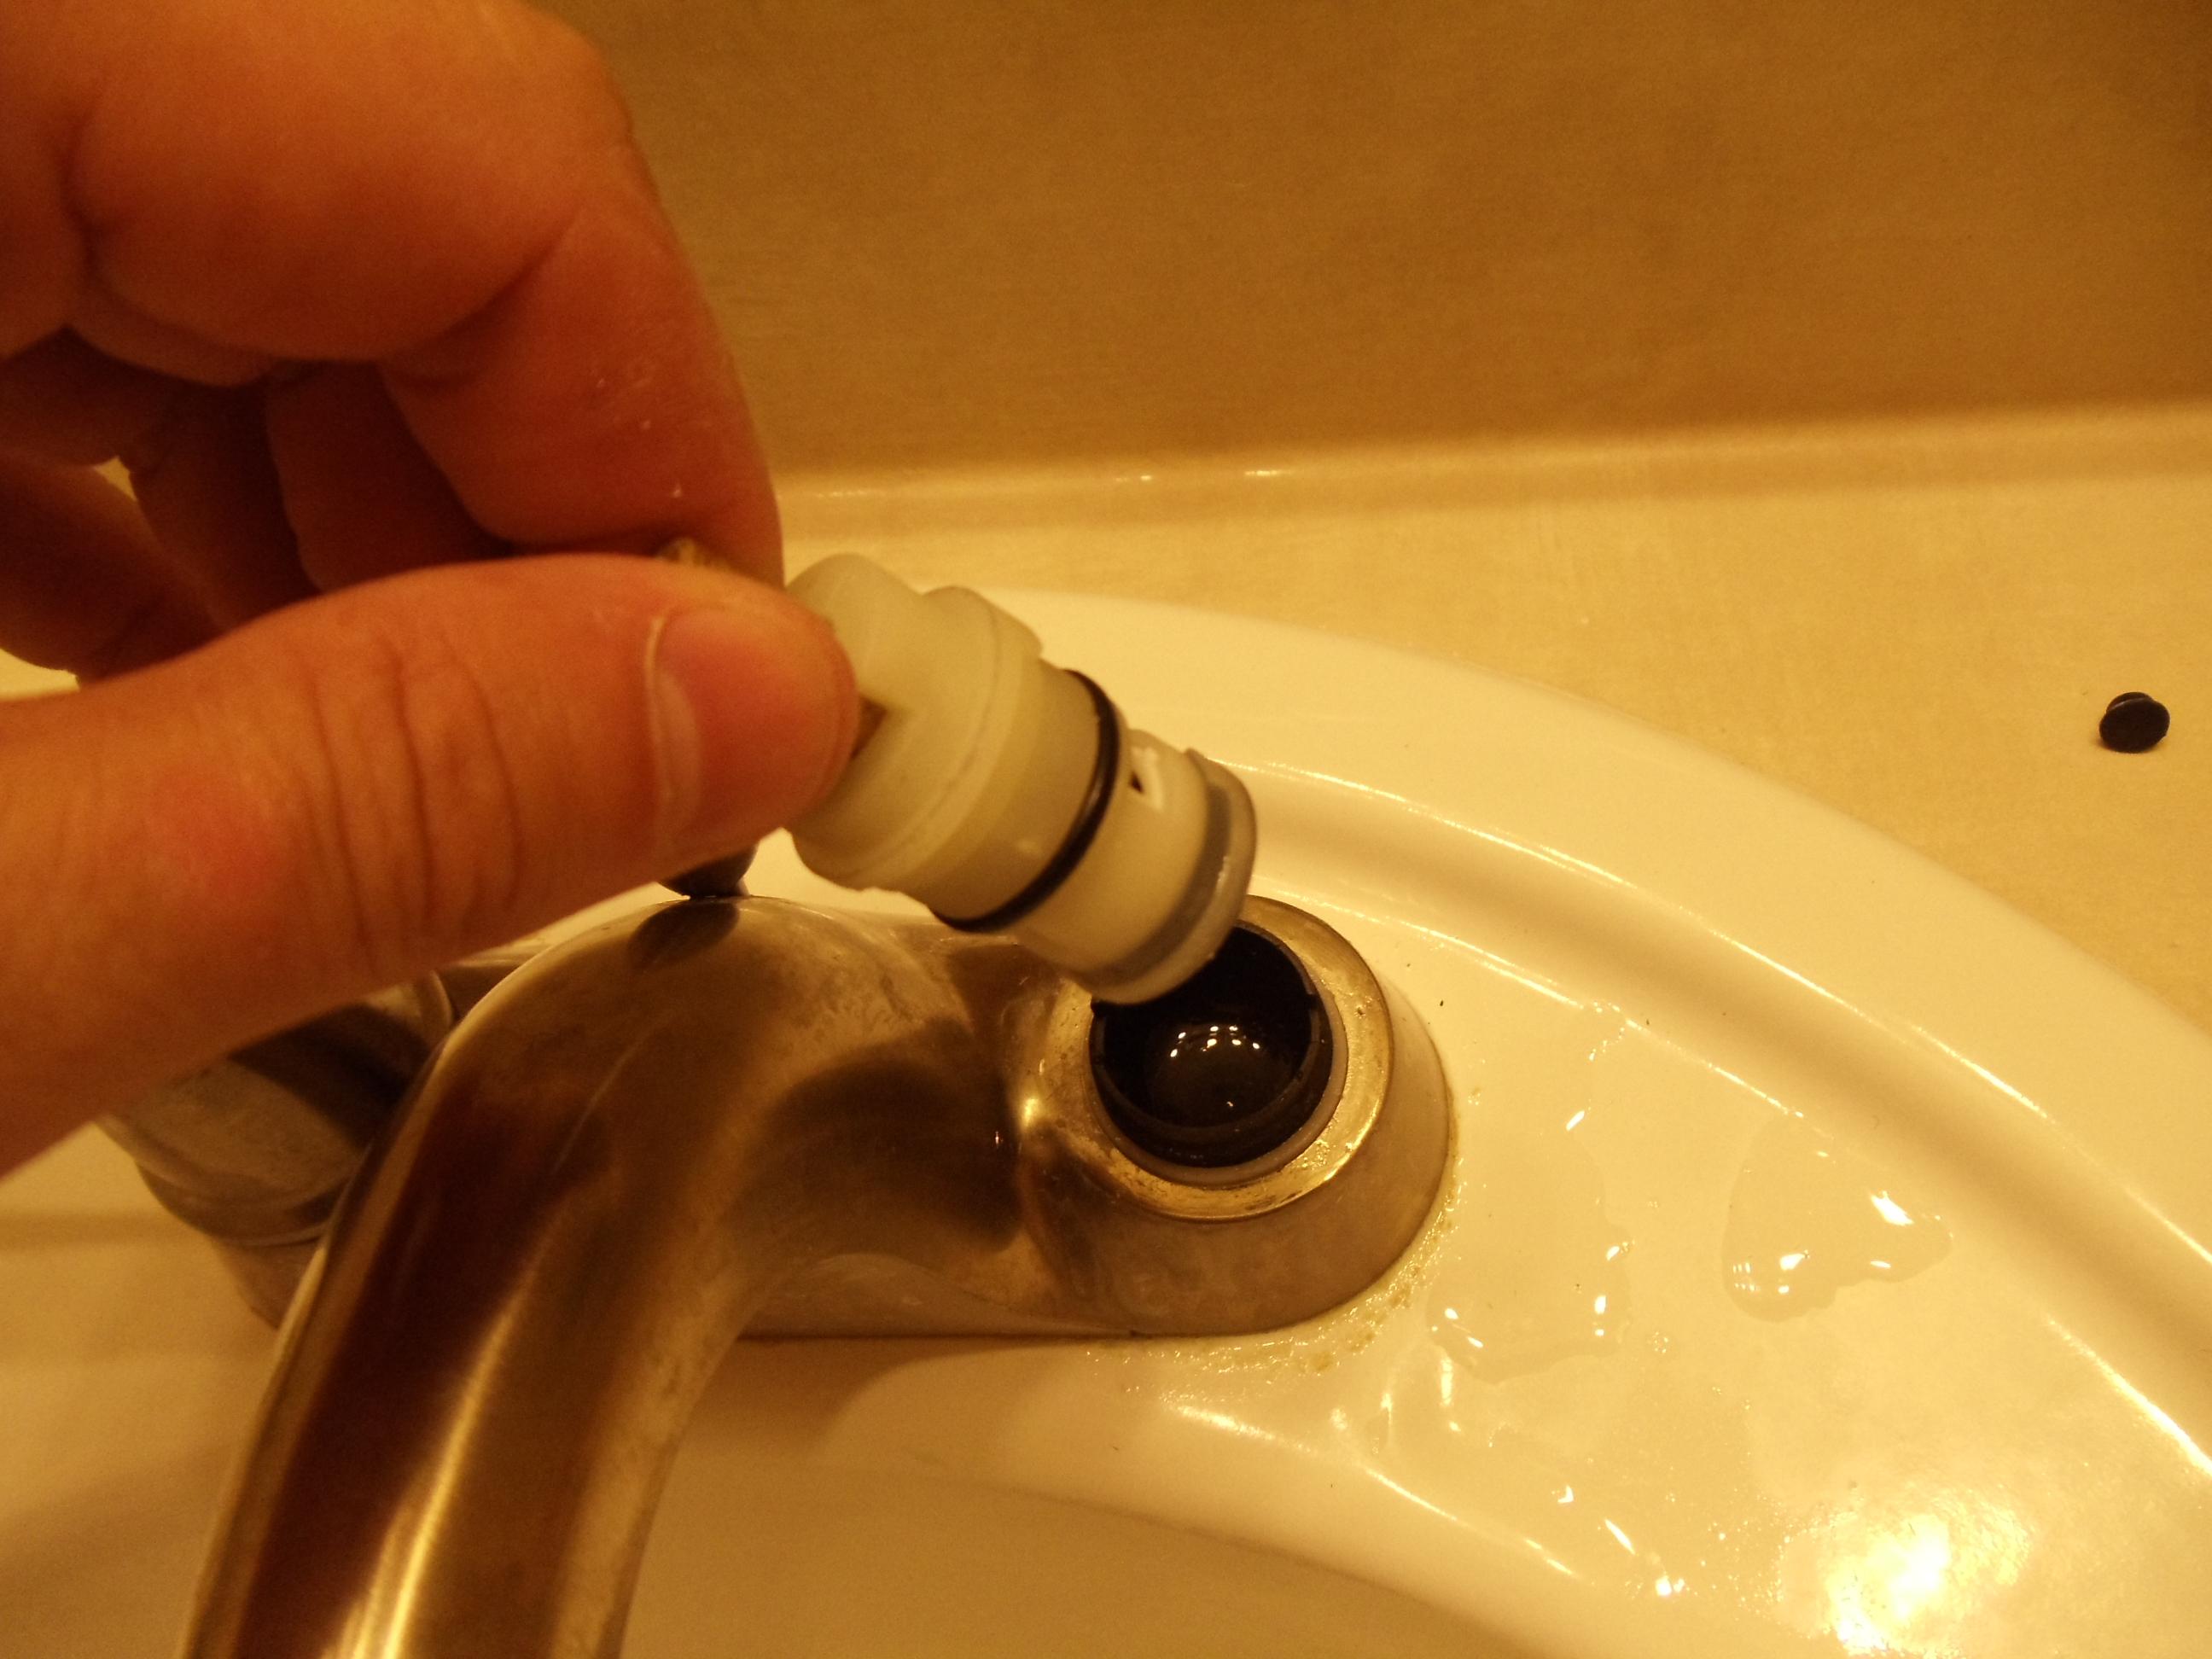
Step 5: Reassemble the Tap
Carefully reassemble the valve or cartridge, then reattach the tap handle with its screw. Tighten gently to avoid damage.
Step 6: Turn the Water Back On and Test
Turn the water supply back on and slowly open the tap. Check if the leak has stopped. If the drip persists, you might need to replace more parts or call a professional plumber.

Fixing a leaky tap not only saves water but also helps maintain your home plumbing. With these steps, most DIYers can handle the repair easily.